







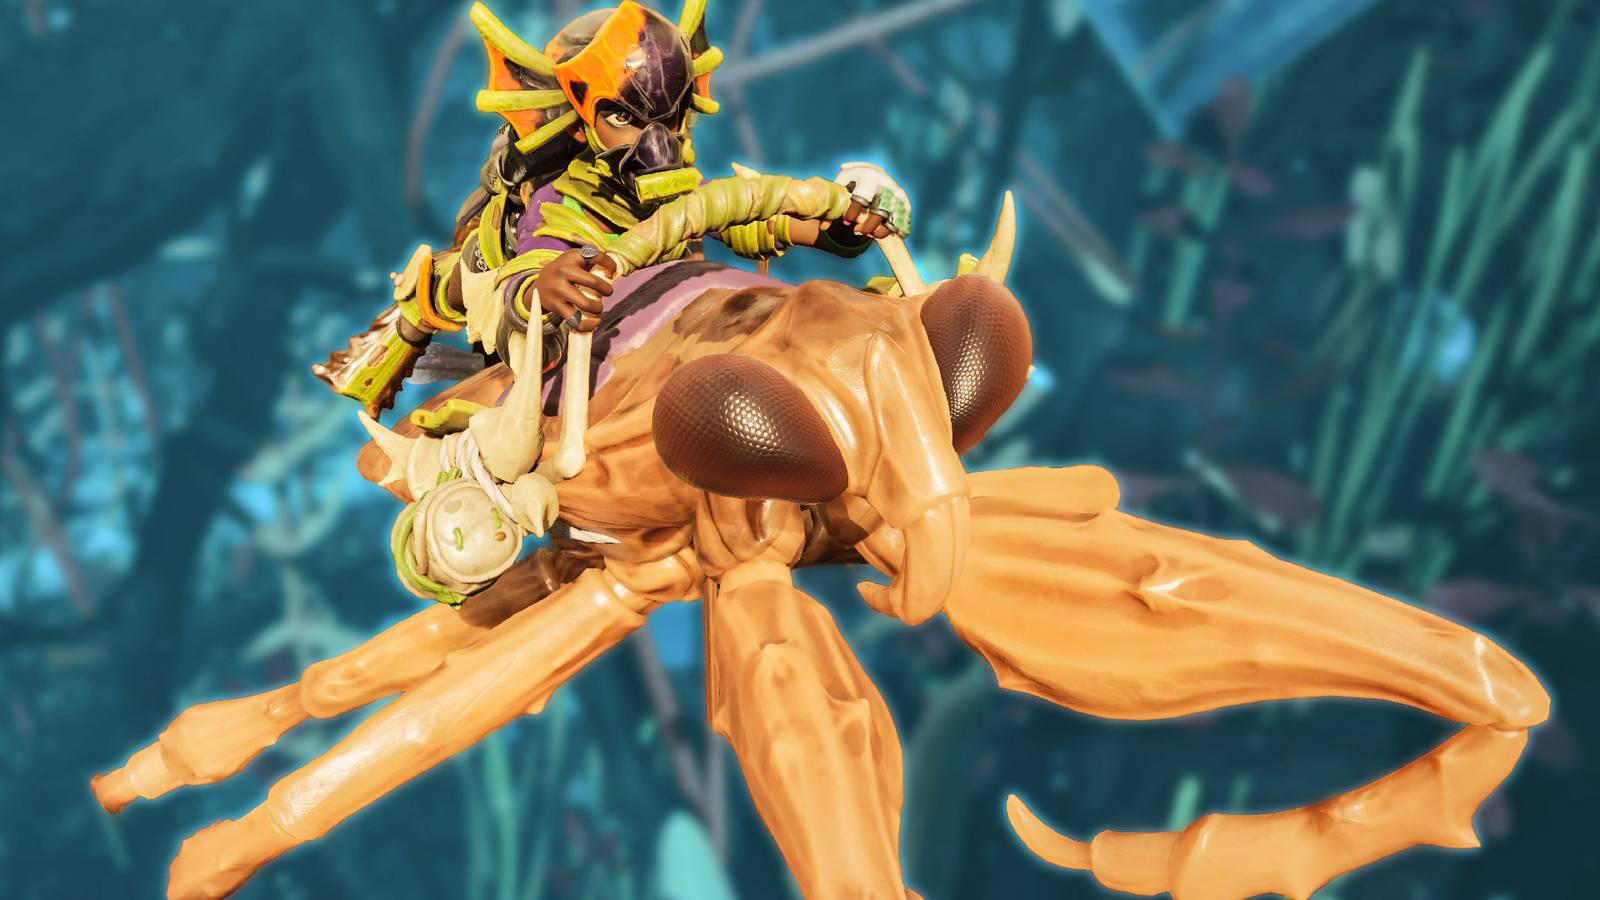
Getting the new Toe Biter Buggy in Grounded 2: Into the Abyss is an extremely complex process that involves unlocking much of the new gear and exploring a great deal around the Pond area. So, if players are ready to dive into the depths and risk facing lots of new bugs, including the dangerous Diving Bell Spider. This Buggy is the very first that can be used in underwater navigation, so it’s a great way to explore the whole Pond Area with extreme speed. It can also help you with underwater combat and is extremely fast on land too.
So, if you are ready to get your new Buggy Mount, here’s a step-by-step guide on how to get the Toe Biter, along with all the items you need to collect before unlocking this creature, like the Aquatic Optical Disk
How To Unlock The Toe Biter Buggy in Grounded 2 Into the Abyss

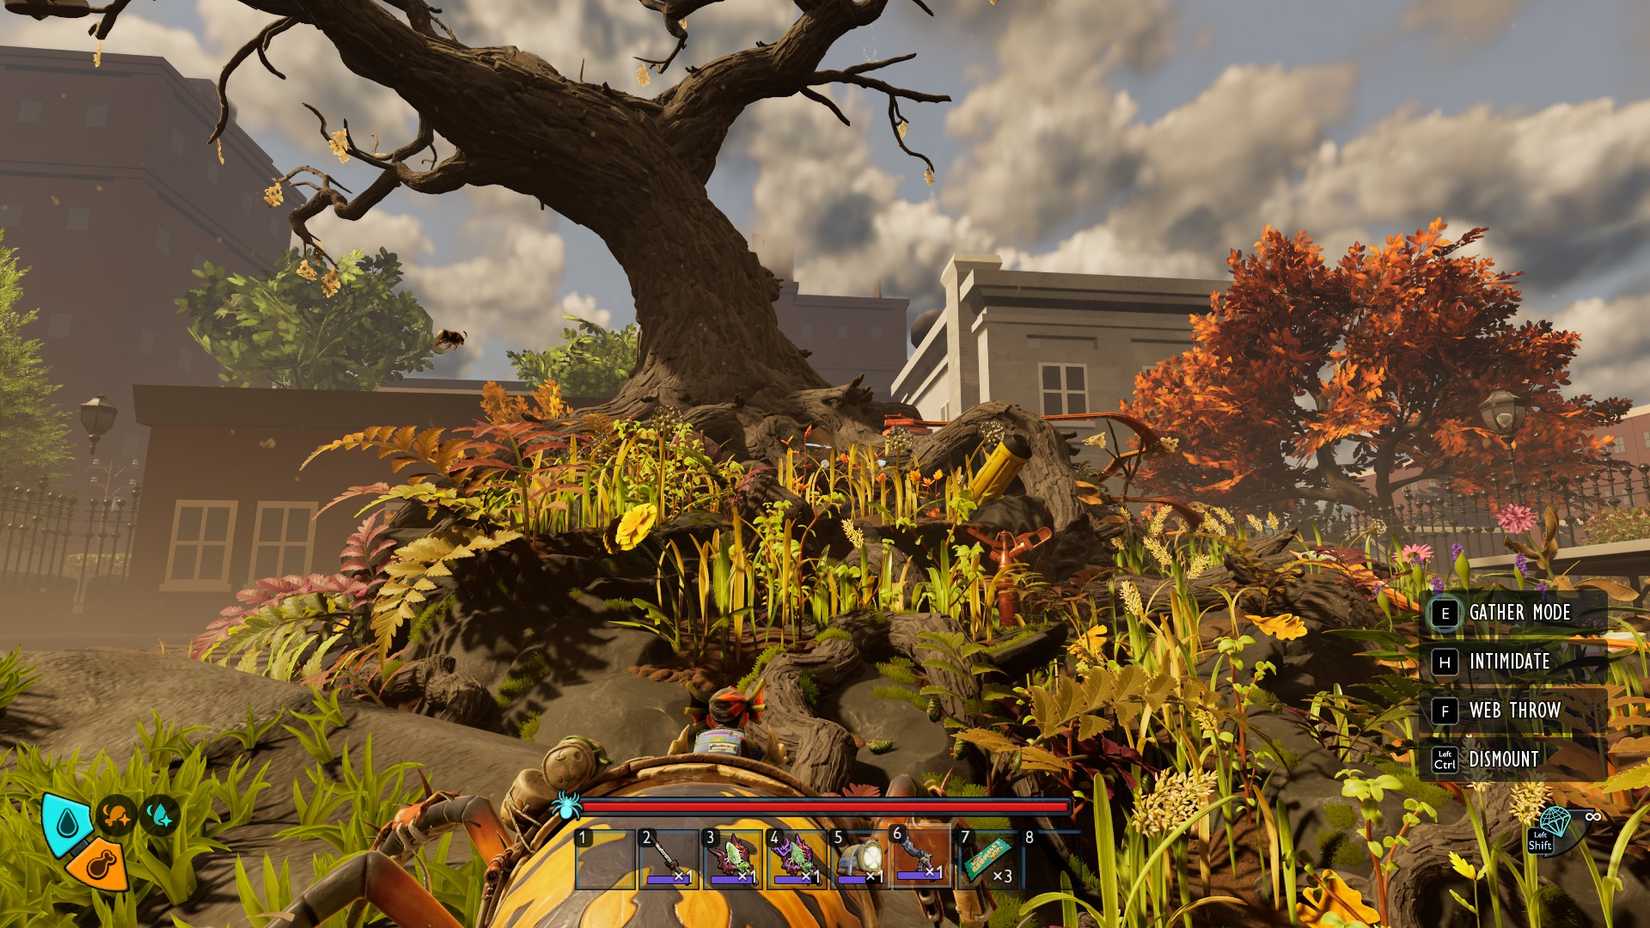
The first thing players need to do in order to unlock the Toe Biter Buggy in Grounded 2 Into the Abyss, is to collect the Aquatic Optical Disk, which unlocks the Toe Biter Nest schematic and the Toe Biter Buggy recipe for the Hatchery.
To get it, travel to the Gnarly Bark region and follow the roots of the tree until you see an opening in the bark. This will lead to a spiral cave, full of deadly critters that you need to take down to ascend.
It is strongly recommended that players use the Soldier Black Ant Buggy to climb the structure, and since it can easily deal with the enemies inside, it will be a great help to make your way to the Optical Disk.
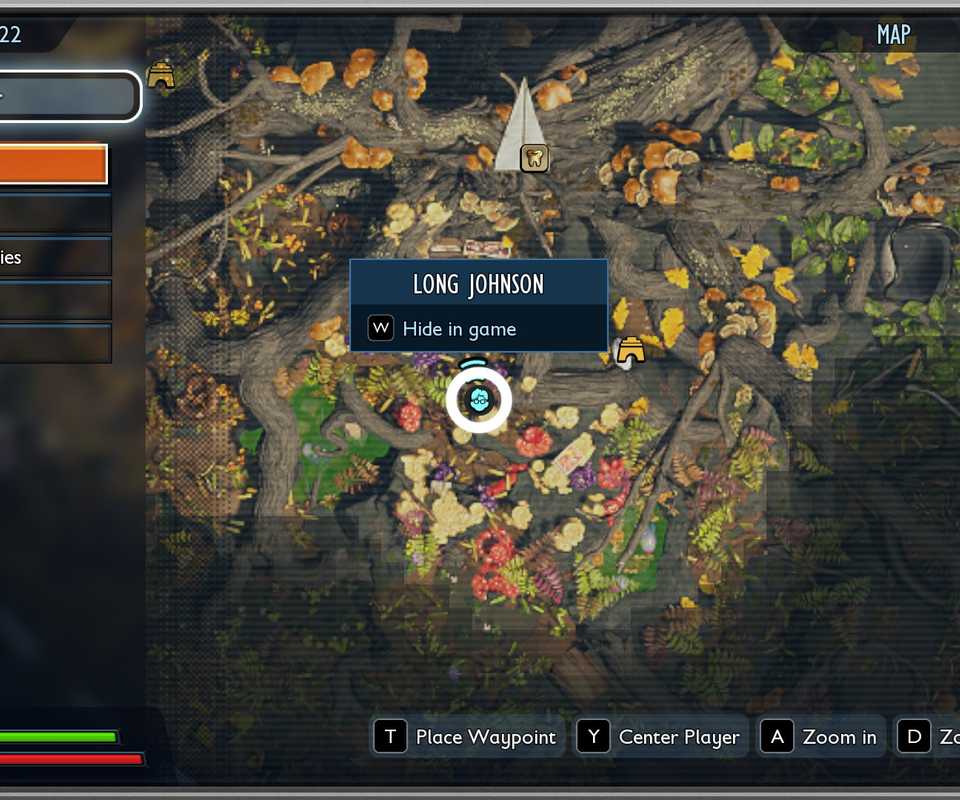
After climbing outside of the bark for the first time, keep rotating around and climb inside once more. Then, the third time, near the candles (and the memorial photos) you can climb and access an opening filled with a Sour Tang puddle. Search for a corpse near the puddle and pick up the Aquatic Optical Disk from next to it.
Remind this location for later, since we will return here to obtain the Toe Biter Eggs from a secret hidden boss that is only unlocked after deciphering the Aquatic Optical Disk.
Players can get here as part of the process to acquire the Zip. R and the Zipline, so in the video below, you’ll see exactly where to find the Aquatic Optical Disk, just in case you haven’t nailed the location yet.
How to Get Toe Biter Egg in Grounded 2 Into the Abyss

Once you have unlocked and built the Toe Biter Nest in Grounded 2 (and a Hatchery, of course) you will need an actual Toe Biter Egg to hatch and create your own Buggy.
But getting this will not be easy, as players will need to face one of the hardest bosses of the Park: Papa Toe Biter. To find it, just return to the Gnarly Bark zone, and climb all the way up using the Hot Wheels track, right up to the place where you start seeing the candles.
If players remember from the place they got the Aquatic Optical Disk, this zone is right below. So, follow the candles until you see a framed photo of the “missing children,” from the incident, then look behind it to discover a secret entrance.
Deal with the Toe Biter Nymph at the entrance, then climb inside to find the arena where you will face the boss. It will be sleeping, so if you need to buff yourself up using food (we recommend using Cheese ‘n’ Fries and Green Machine to enhance your stamina and defenses), now is the time.
The fight against Papa Toe Biter will be a tough one, more so since this Boss will not be alone. During the whole fight, it will constantly spawn Toe Biter Nymphs that need to be dealt with as they spawn; otherwise, they’ll swarm you.
Now, the tricky part is about blocking its attacks (that’s why you need more stamina) since these can send you packing faster than the lesser enemies. The problem here is that ranged weapons seem to do less than little damage to the Toe Biter’s carapace, so defeating it with only ranged weapons is a bad idea.
Using Tang Staffs, on the other hand, could be a good strategy, since the Nymphs will take more damage from the puddles and can be dealt with faster that way. Other staffs have similar AoE effects that are extremely useful too, so consider getting a Mage Build before this fight.
Make sure to avoid overextending (attacking for too long) since the Papa Toe Biter will use its Sweep attack to blast you away. The same principle applies if you are attacking it from behind while your Buggy distracts it. If you are going to use that strategy, you better call the Ladybug Buggy, as it is more resilient than the rest.
Once the Papa Toe Biter is defeated, look around for its eggs, which will be scattered on the floor. Each player can take one, since you need to carry it around. You can always order your Ant Buggy to carry it for you to your base.
To exit the Papa Toe Biter Lair, though, you will need to use the side tunnel (it is to the left from the entrance) and drop to a lower level of the Gnarly Rotten Tree.
Now, go back to your base, and use the Hatchery to begin the incubation process. It will take around 12 hours of In-game-time, so take a nap, or go build for some time before coming back and claiming your new Buggy.
The Toe Biter Buggy can use the Sweep Attack while on the ground. It deals a ton of damage and pushes back enemy bugs. It is also the best way to explore Skunk Pond, since it will be way faster than swimming.


Grounded 2
- Released
-
July 29, 2025
- ESRB
-
Teen / Violence, Blood
- Publisher(s)
-
Xbox Game Studios
- Engine
-
Unreal Engine 5
- Multiplayer
-
Online Co-Op