


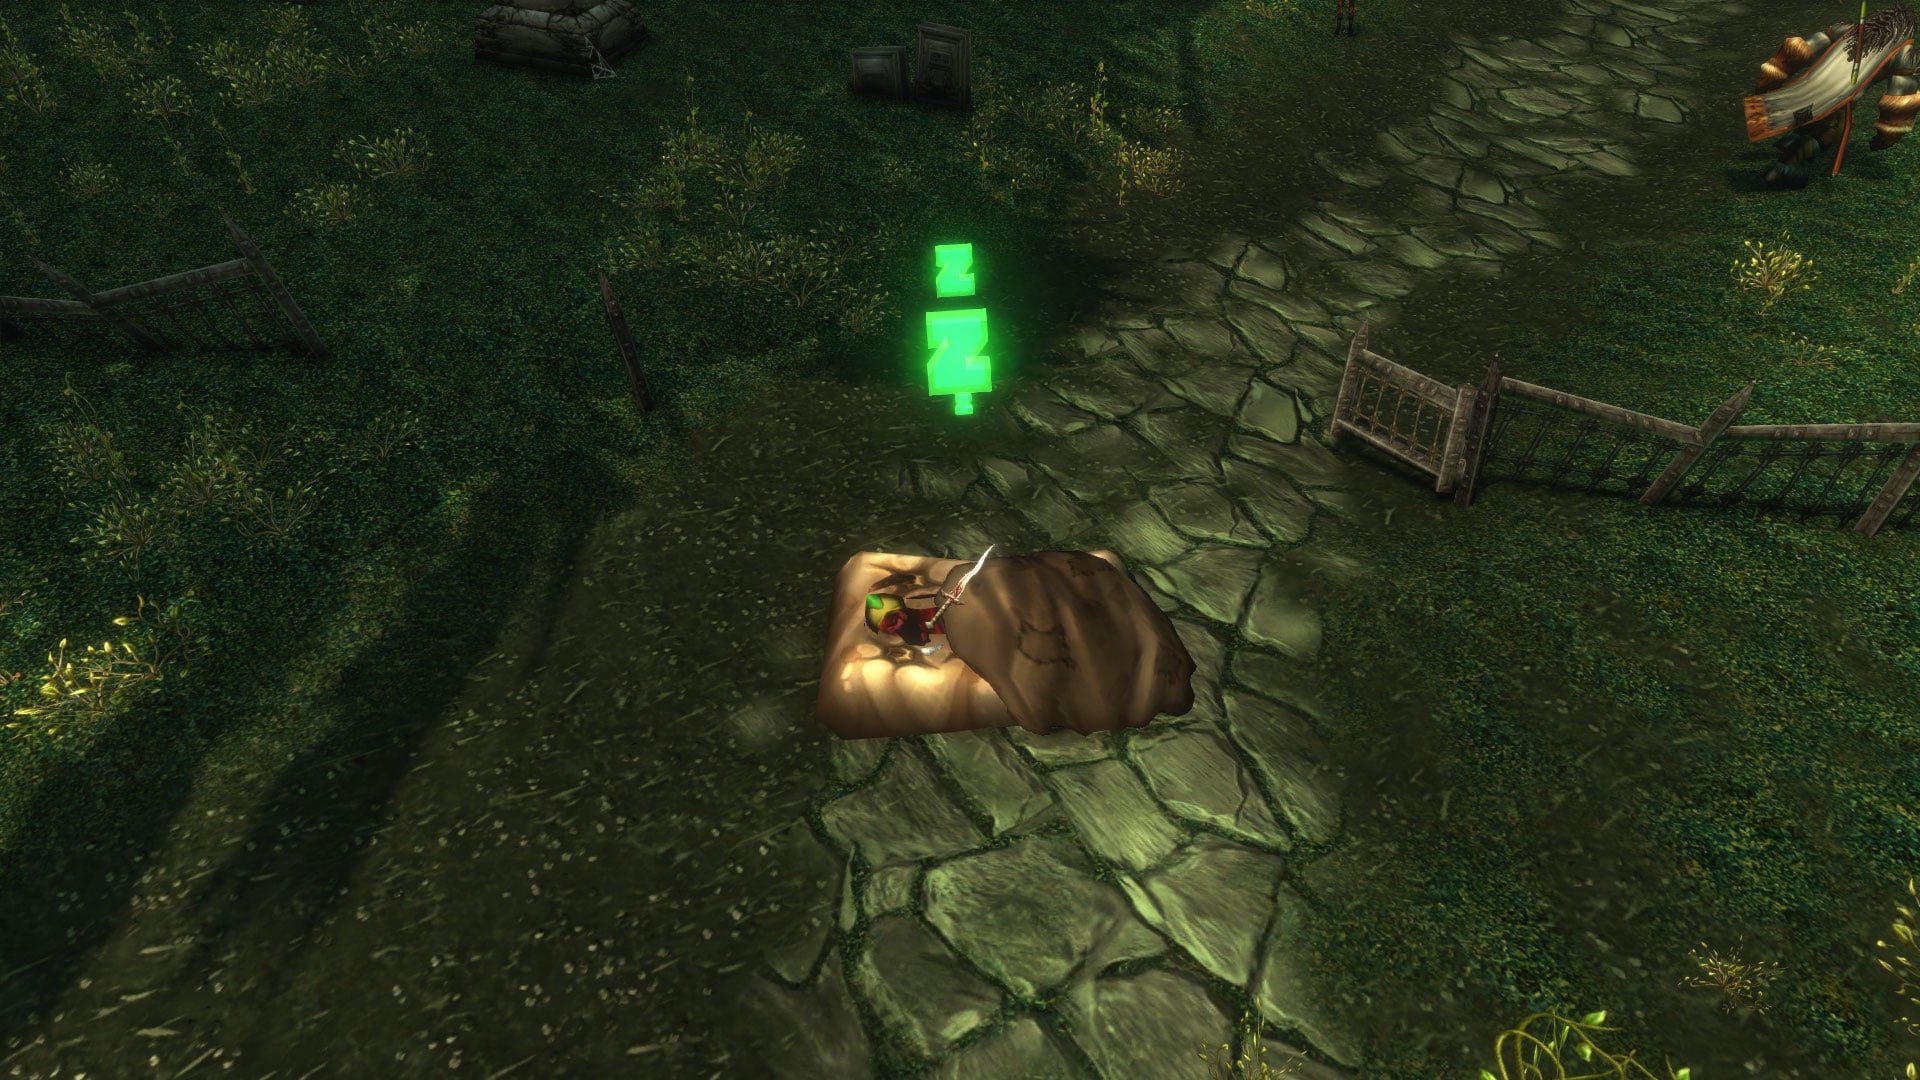




If you’ve been partying up with others in World of Warcraft: Forever, you’ve probably seen a weird sleeping bag item being used by your teammates. You may have even been encouraged to use it yourself, and gotten a little EXP boost for your trouble. Now, having snuggled up in the sleeping bag with four of your dungeoning buddies, maybe you want this nap device for yourself and your own leveling journey. I am here to tell you how to get it. The journey is not without pain and sacrifice.
The Cozy Sleeping Bag is an item first introduced in WoW‘s Season of Discovery. It has unlimited uses on a one-hour-long cooldown. When you use it (the cast takes 15 whole seconds), you place a sleeping bag on the ground. If you stand still on top of it, your character will lay down after a few seconds and take a nap. In this state, you’ll gain a stack of a buff once every minute up to three stacks, with each stack giving you a 1-percent bonus to EXP earned that lasts through death, for two hours. So in total, you spend a little over three minutes to receive a 3-percent bump to EXP gained for two hours. The best part is that you can share this with your party members, so one sleeping bag will give your whole group a buff if everyone takes a nap together.
That said, given how long it takes to obtain, it’s…kind of a worthless reward. You’ll spend about the same amount of time you save in leveling just running all over the place to obtain the bag in the first place. It’s not a toy, so it takes up a precious inventory slot, too. That said, you do also get a 12-slot bag from the questline, which feels truly luxurious early in the game. And you can use this as an opportunity to pick up a bunch of useful flight points you’ll be happy to have later. As Horde, I grabbed flight points at places like Grom’gol, Booty Bay, Tarren Mill, Sunrock Retreat, and Hammerfall. I also did the early steps of this quest simultaneously with getting the Night Watchman’s Torch, which helped “save time” (if you can call any bit of this time-saving).
You’ll need to be at least level 14 to start this quest. Be warned, you will end up running into high-level areas to finish this, and will probably die a lot in the process. My general tip for this is to stay on the main roads whenever you can, as monsters tend to avoid them. However, some areas (like Stranglethorn Vale) will have monsters that will aggro you from off the path, and other places you’ll run through are PvP zones, so you may have to improvise. Just don’t be deceived into thinking that cross-country hikes are the best idea.
Steps 1 and 2: The burnt building
The first two steps are the only ones that are different depending on whether you’re Alliance or Horde. Both factions will have to complete both steps, just in reverse order from one another.
Alliance will start in Westfall. For Horde, this is your step two, so be prepared to come back to this momentarily. In Westfall, head for coordinates 37, 50 (you can see coordinates in the top right corner under your minimap, no add-ons required). Alliance can easily reach here from Stormwind as part of their normal questing journey, but Horde have a rougher time. Take the zeppelin from Orgrimmar to Stranglethorn Vale, then go north from Grom’gol through Darkshore and turn west when you can to Westfall. Beware, because Stranglethorn is full of high-level monsters that will aggro you if you breathe within a mile of them, and Darkshore and Westfall are full of Alliance NPCs. You can also swim the shore from Grom’gol up to the Westfall beach, if you prefer.
You’re looking to get to the middle of the Alexston Farmstead just southeast of the Gold Coast Quarry. There are a bunch of harvester enemies running around that may make things difficult, but if you can get clear of them you can interact with a Nailed Plank in a burnt-out cart. Alliance will pick up “…and that note you found” and Horde will get “Stepping Stones.”
Horde, you’ll start with this next step. Alliance, this is your step two. This one is in the Barrens. You’re looking for a burnt watchtower, at coordinates 46, 74 or so. Horde can get here easily by flying to Camp Taurajo (or walking from Orgrimmar, Crossroads, or Thunder Bluff) and taking the main road through the Barrens south. For Alliance, it’s a rougher journey, but you can make it by heading south from Darkshore (which is reachable by boat from Stormwind), through Ashenvale, and then down south further into the Barrens. At the watchtower, Horde will pick up the quest “…and that note you found” and Alliance will get “Stepping Stones.” Horde will then need to follow the previous step to Westfall to get their next quest.
Once you have “Stepping Stones,” the path is the same for both factions.
Step 3: The campsite
“Stepping Stones” takes you to Stonetalon Mountains, which Horde can get to from The Barrens and Alliance can get to…well, also from The Barrens, which is probably where you are if you just did the previous quest. Alliance have a hub at Stonetalon Peak, and Horde have Sunrock Retreat, but both groups will need to go past Sunrock Retreat and find a little path up into the mountains that lies just to the north of the outpost.
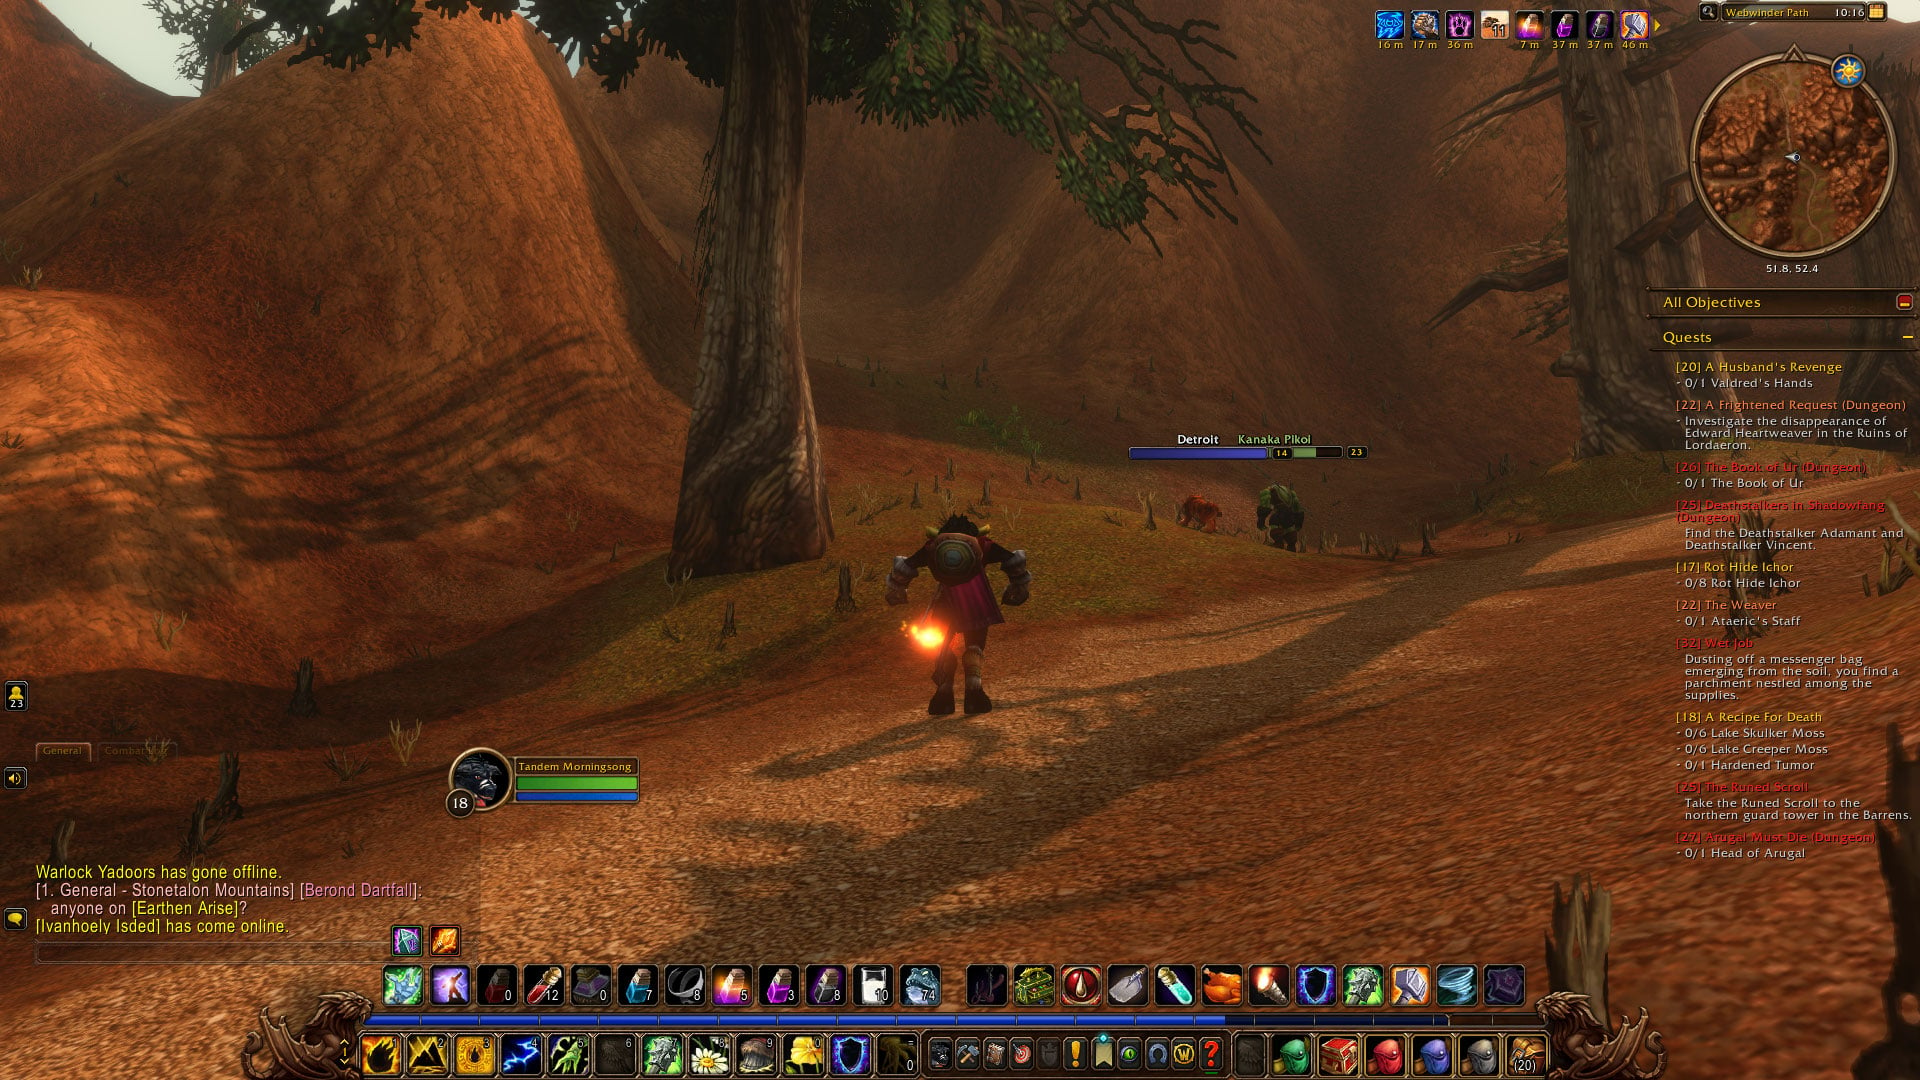
Follow the path carefully upward until you reach a small campsite with a fire, and a Pocket Litter you can interact with on top of a box. Finishing this quest will get you a 12-slot bag (yes!) and will let you pick up the next step, “Scramble.”
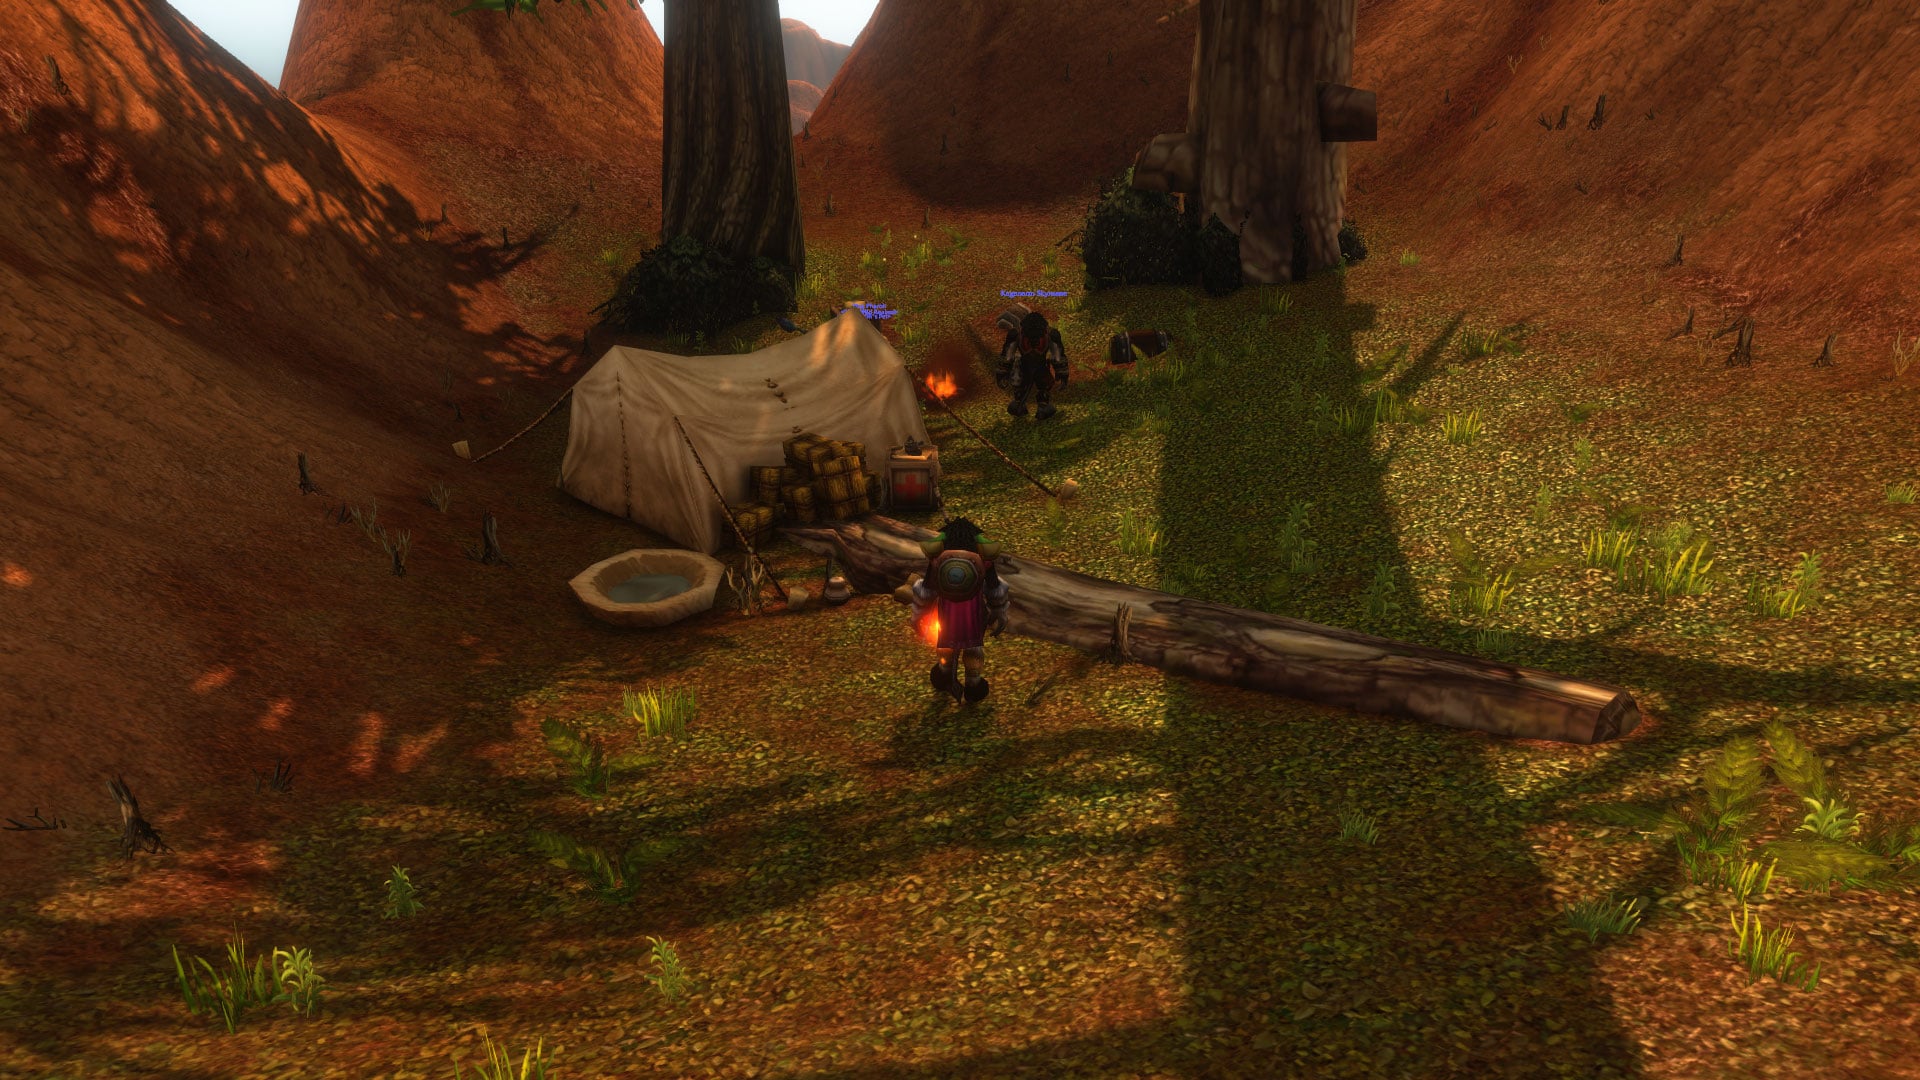
“Scramble”‘s turn-in point isn’t far away at all, but before you go, try to interact with the campfire. There’s a weird little quest you can do here called “Rekindle” that will restart the fire with the tinderbox and wood you got from the last quest. However, this quest was bugged for me when I did it and I was unable to click on the campfire, and this seems like a common problem a lot of people are experiencing. It will likely be patched in the future, but if it’s bugged when you reach it, don’t sweat it. You’re genuinely not missing any rewards and it’s not necessary to get the sleeping bag.
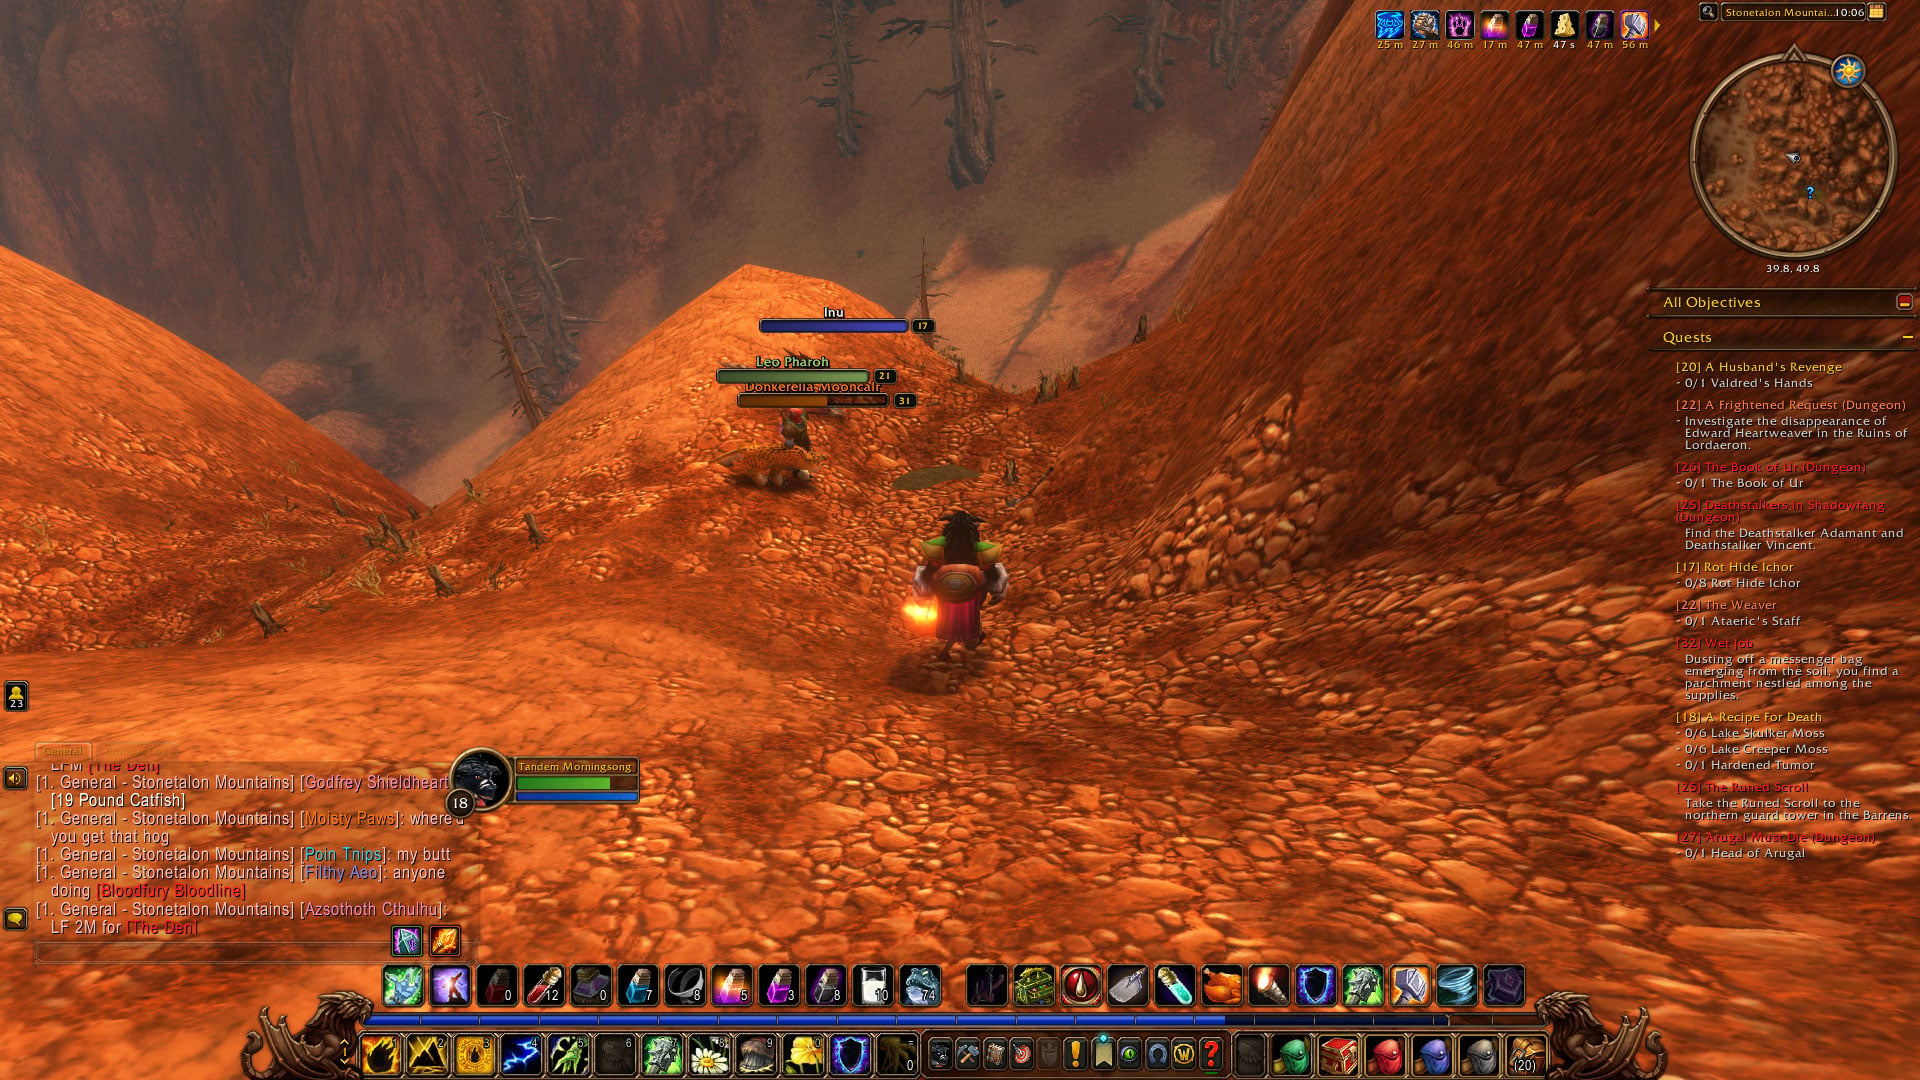
Campfire or no, head due north and up the hill, walking carefully so as not to fall down the cliff (if you do, no biggie, there’s a path that will let you climb back up easily). From the top you should be able to see the next objective, a Mound of Dirt, so jump over that way and turn in the quest, picking up “Wet job.”
Step 4: Back to EK
Time to continent-hop again. You’re going back to Eastern Kingdoms, this time to Loch Modan. For Alliance, this is a short-ish run, and not a dangerous one. You can either start in Ironforge and walk south through Dun Morogh into Loch Modan, or go from Stormwind via boat at Menethil Harbor to Wetlands, and then had southeast through the mountain tunnel into Loch Modan.
Horde, this is another rough one. You’ll need to start in Undercity and run through Tirisfall Glades, exiting to the southwest into Silverpine Forest. Follow the path further south into Hillsbrad Foothills, continuing east into Arathi Highlands, across the southern bridge into Wetlands, and then finally through the mountain tunnel into Loch Modan. You will absolutely run into Alliance guards along the way and have to deal with PvP, there’s no way around it. Just corpse-run when you can and do your best.
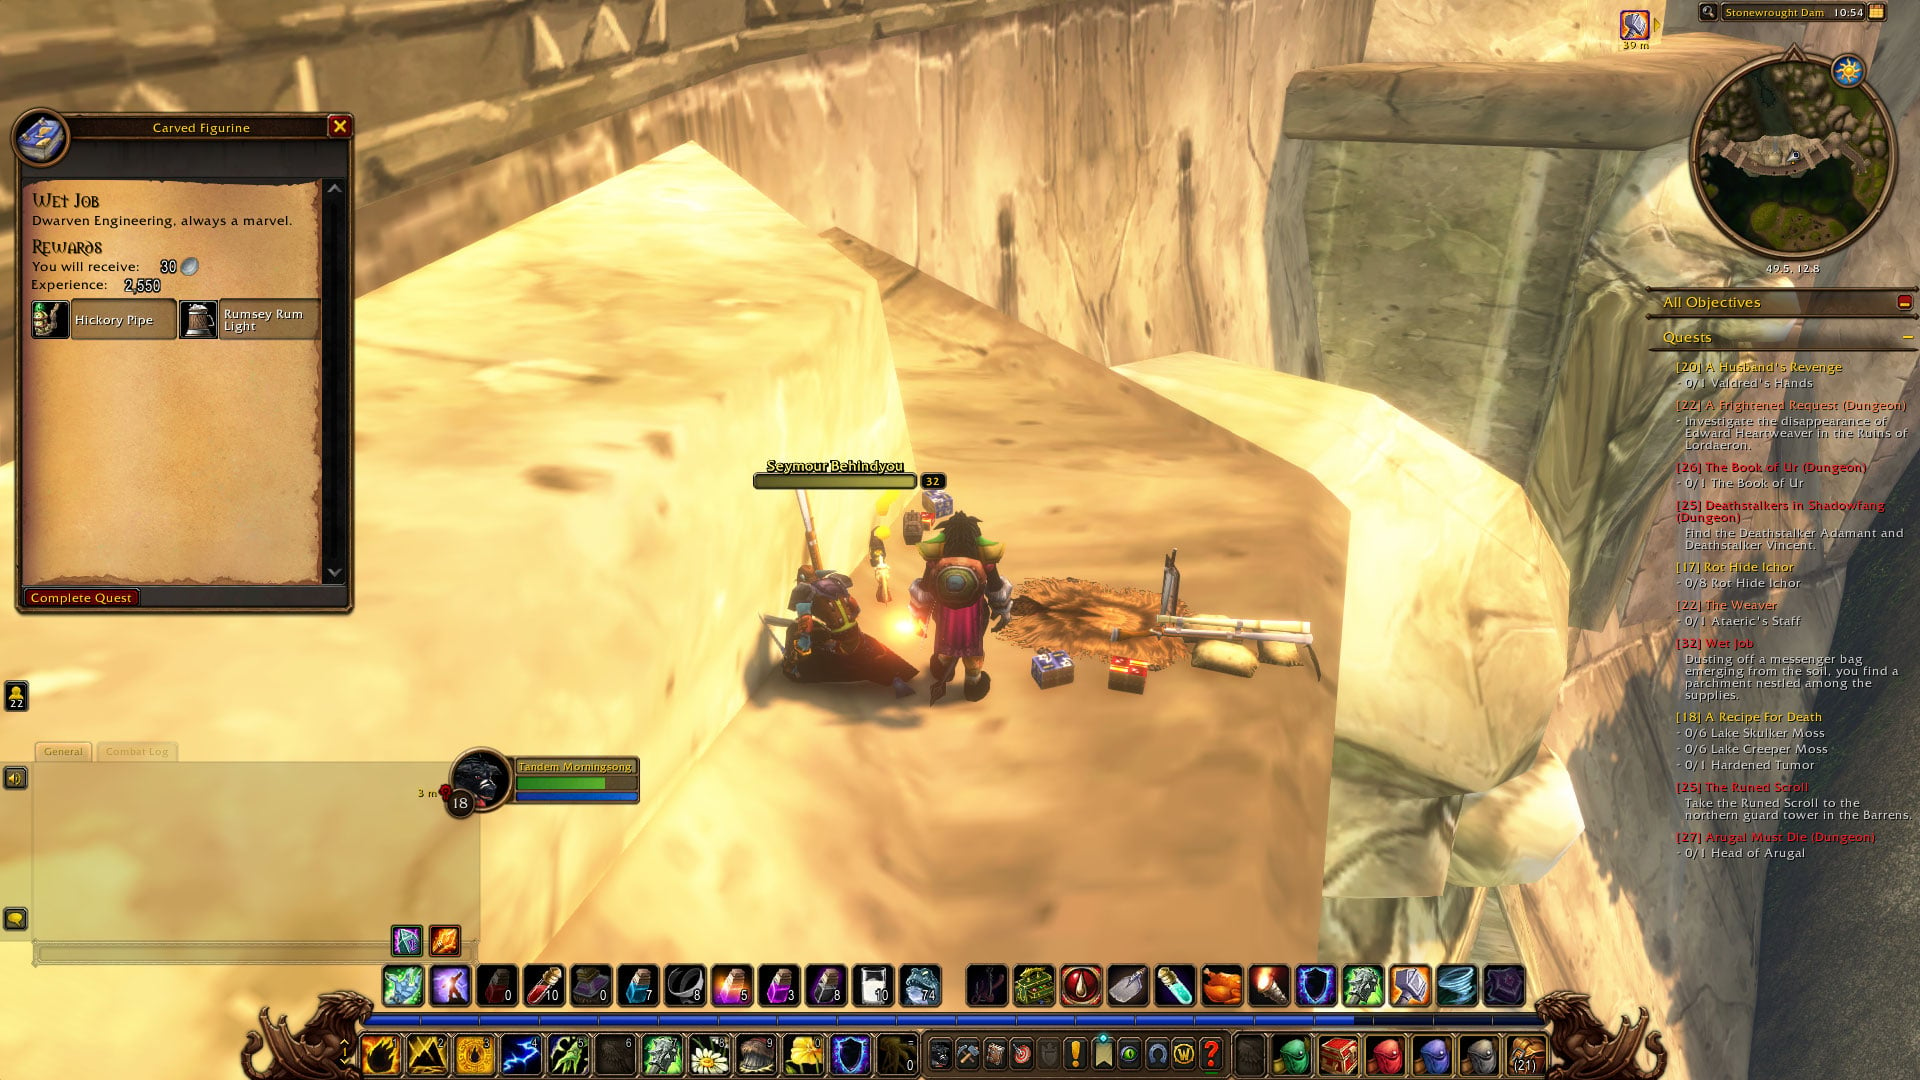
Either way, you’ll want to end up at the Stonewrought Dam, which is at the very north end of the eponymous Loch of Loch Modan. You’ve got to climb atop the dam itself and walk across until you see a campsite of sorts on a ledge overlooking Wetlands. Once you’re in the right spot, descend onto the ledge above the stone heads and interact with the Eagle Figurine to complete your quest and pick up the next one, “Eagle’s Fist.”
Step 5: This must be the place!
Just one more step to go, and fortunately, it’s not too far away. Horde and Alliance alike will want to head north, back through Wetlands and Arathi Highlands toward Hillsbrad Foothills. On the border between Arathi and Hillsbrad is the Thoradin Wall, and this is your destination. Follow the wall north until you see a broken cart. The cart is on the Hillsbrad side of the wall, but this is a little easier to do at lower levels if you walk up the Arathi side and then go through the gap in the wall near the cart to cross over, as there are no monsters on the Arathi side.
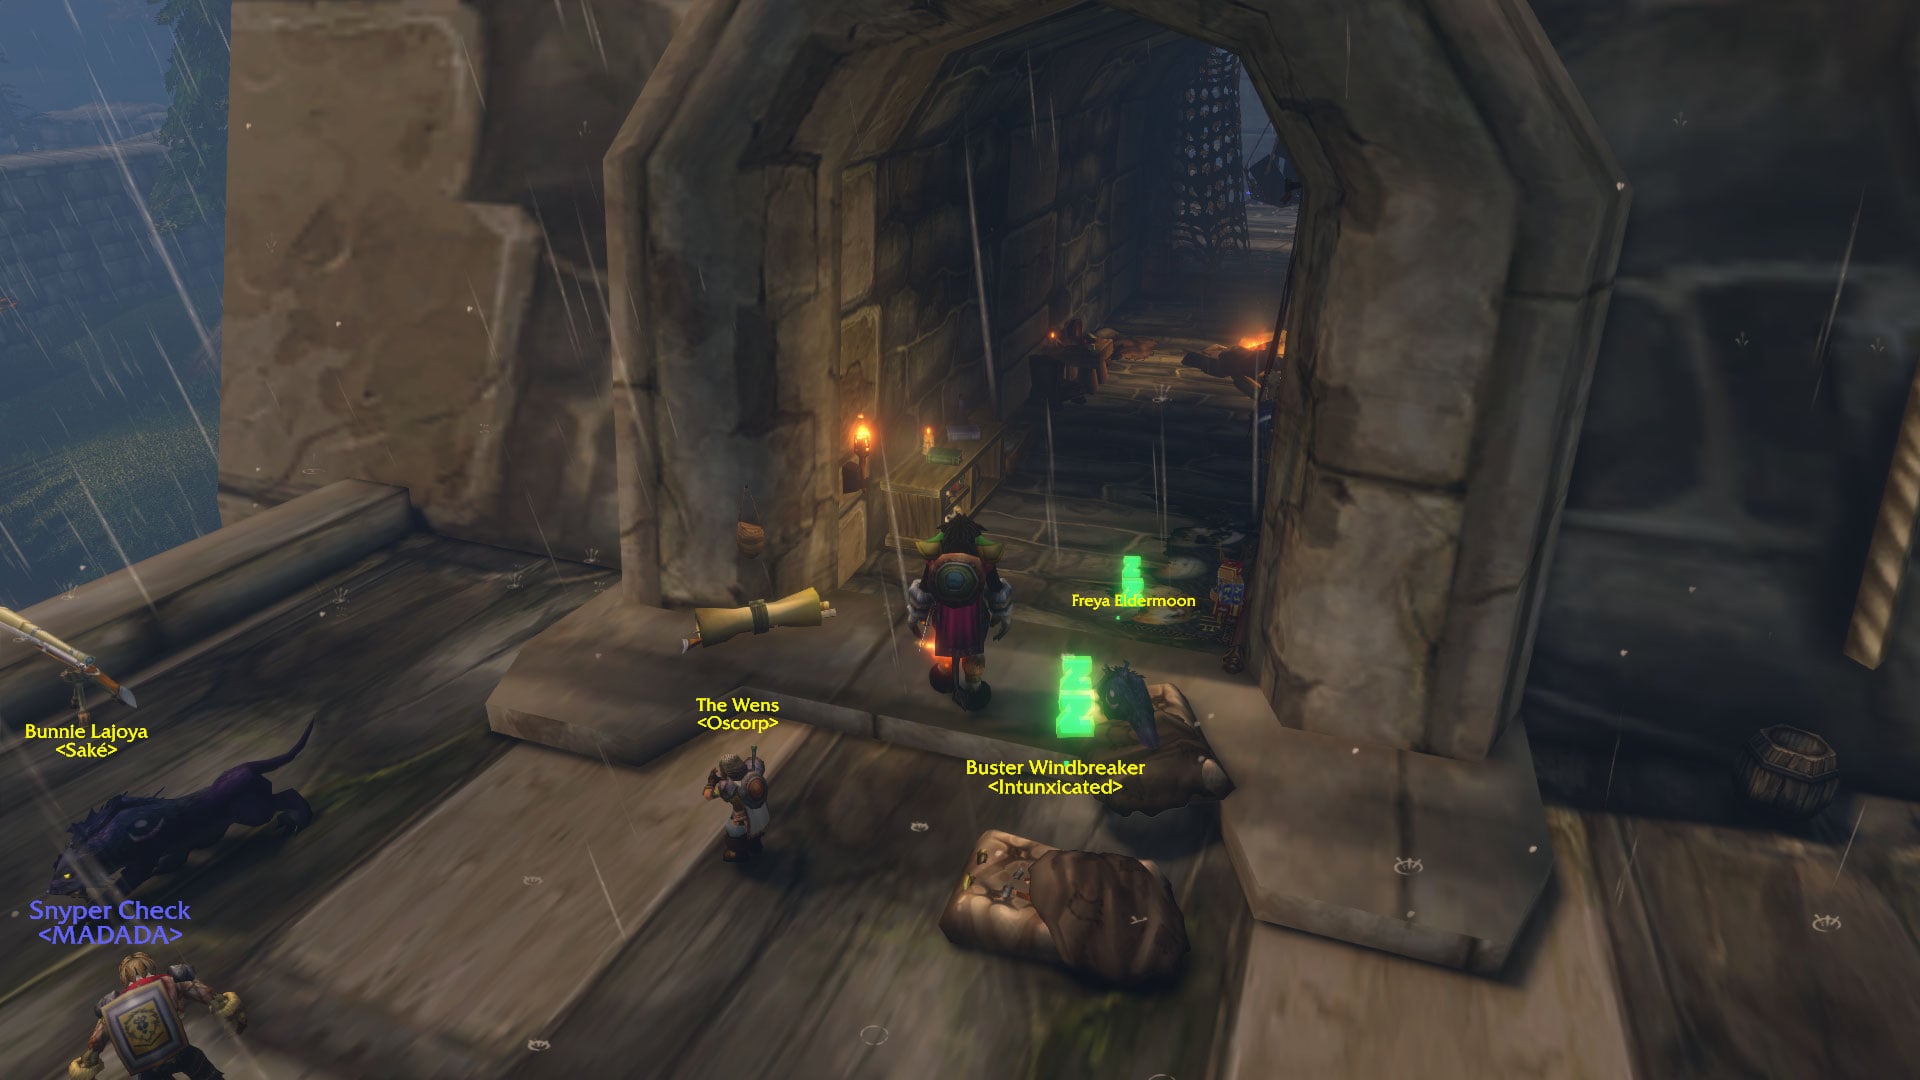
You can use that cart to climb up the wall. There’s a bit of a platforming puzzle here. First climb on the weird cylinder thing, jump to the board that’s jutting out on the side, then up the cart to the wall. Then just follow the path you can take up the crumbling wall stones (start your climb on the low far left stone) until you see the camp ahead of you. Interact with the hanging Messenger Bag to finish “Eagle’s Fist” and pick up “This Must Be the Place.” Then, click on the Hastily Rolled-up Satchel to finish the last quest and get your sleeping bag at last. Congrats!