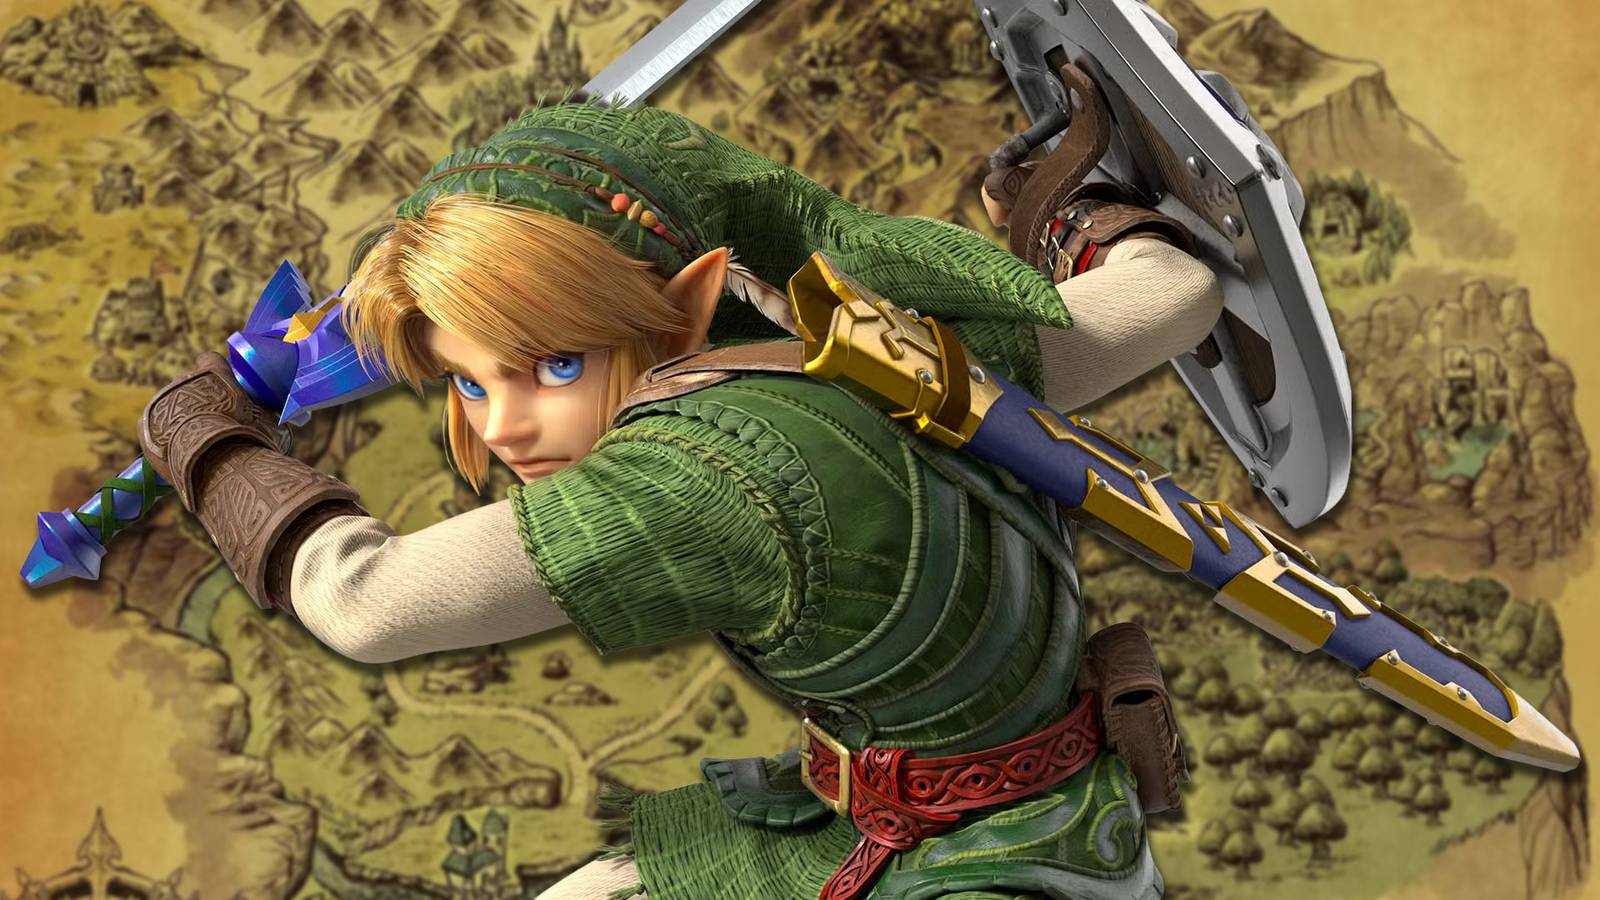

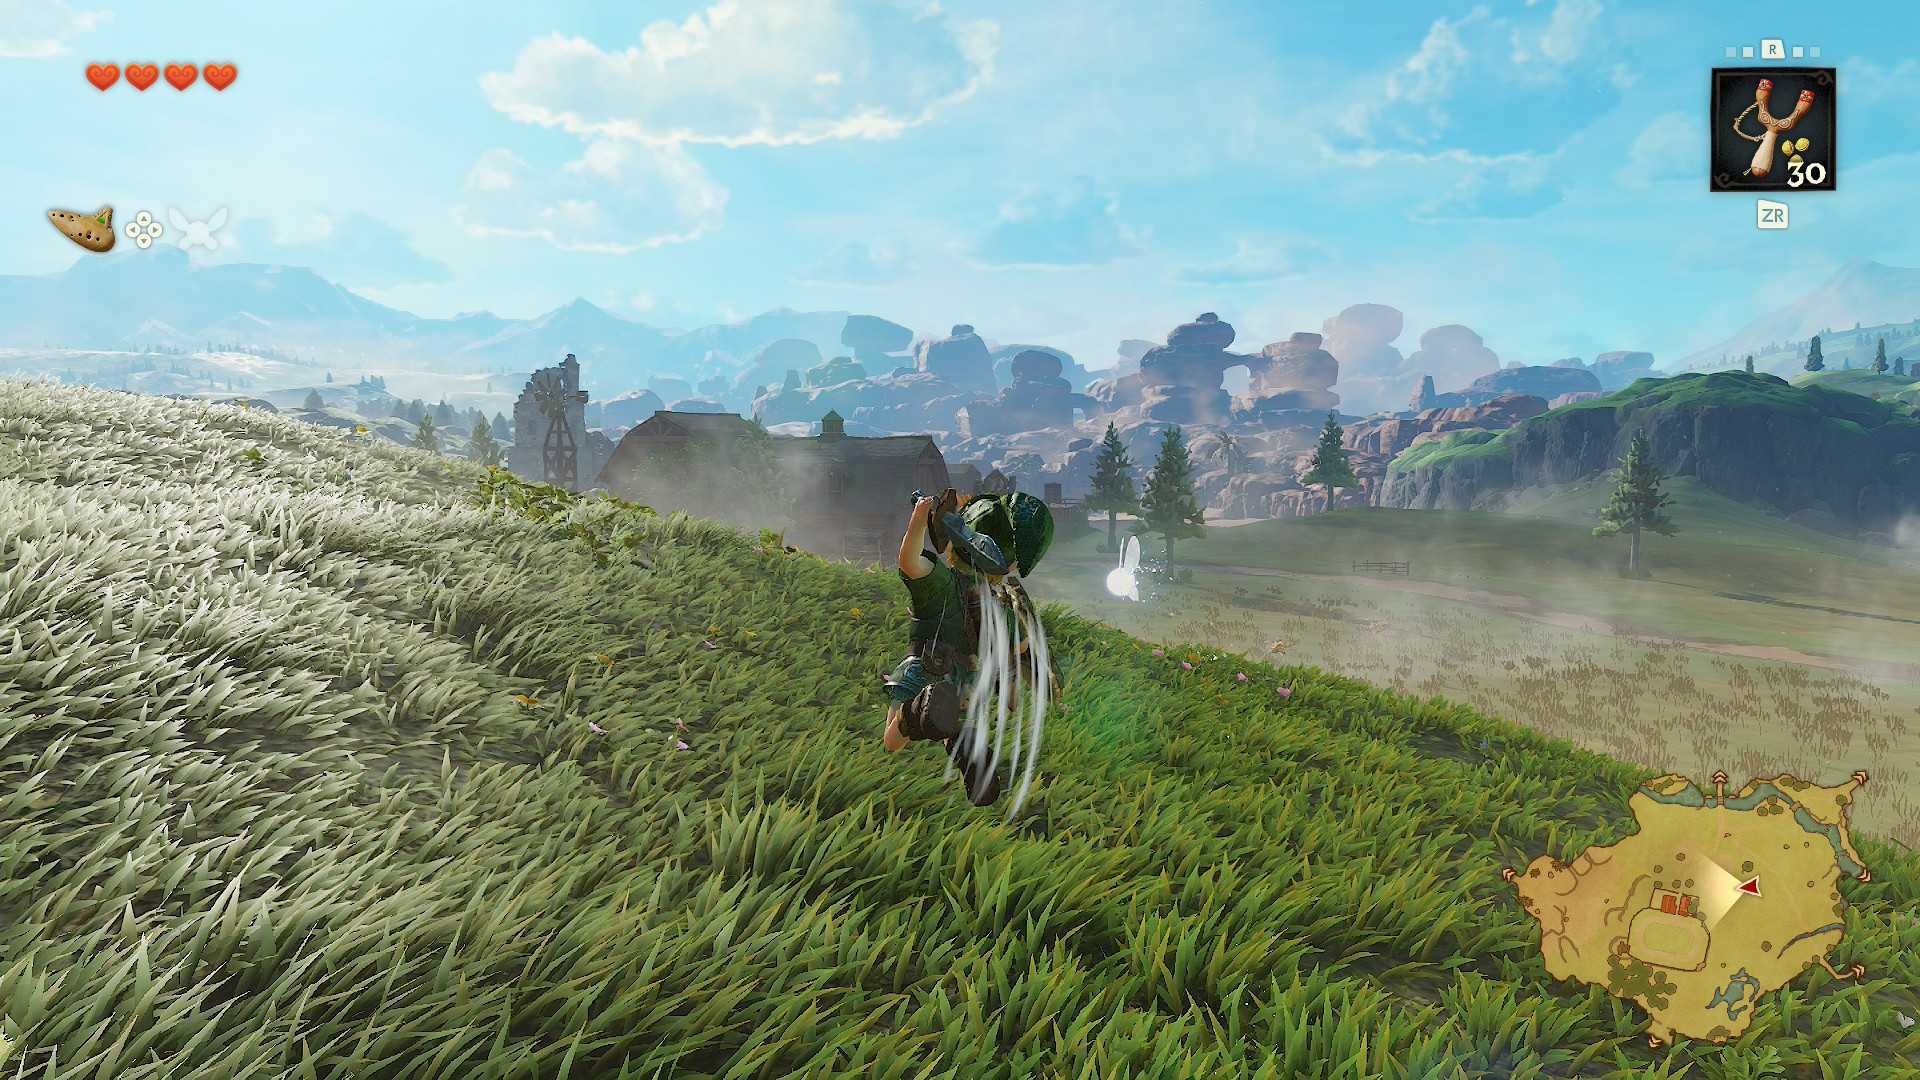
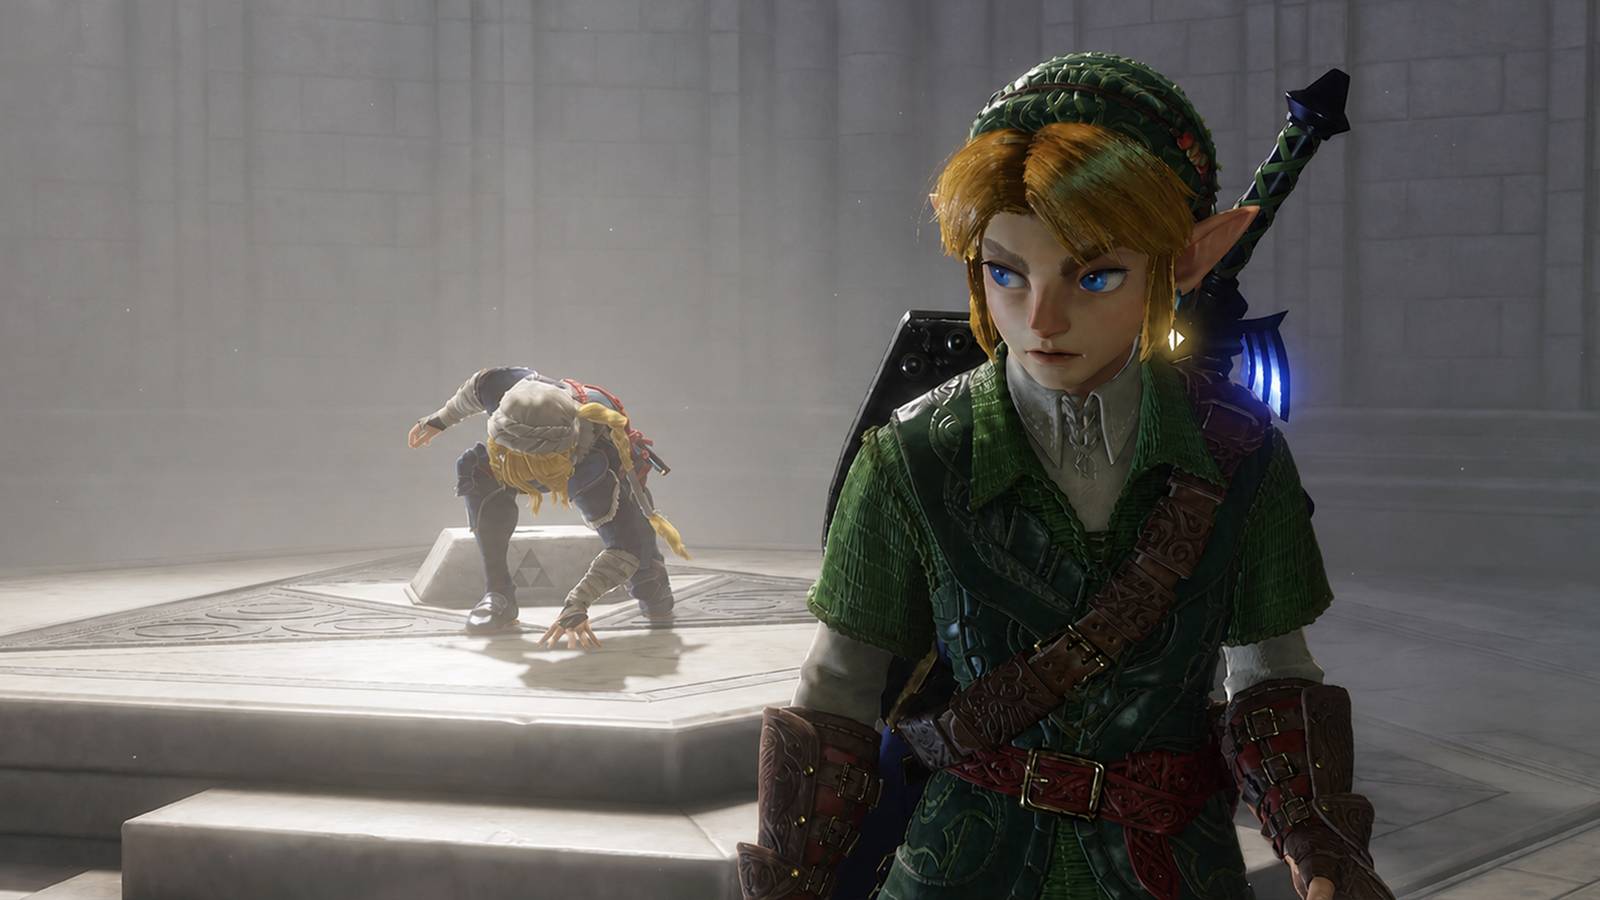


This The Legend of Zelda: Ocarina of Time remake walkthrough hub will help players beat the game. Additionally, it will help them find every item, collectible, upgrade, and more. If you’re stuck in The Legend of Zelda: Ocarina of Time remake, or are trying to reach 100% completion, follow the steps below.
This walkthrough looks to provide a succinct summary of each section in the game. Make sure to click on the links if you need more detailed guides.
Kokiri Forest

- Get the Kokiri Sword.
- Find 40 Rupees and buy the Deku Shield from the Shop.
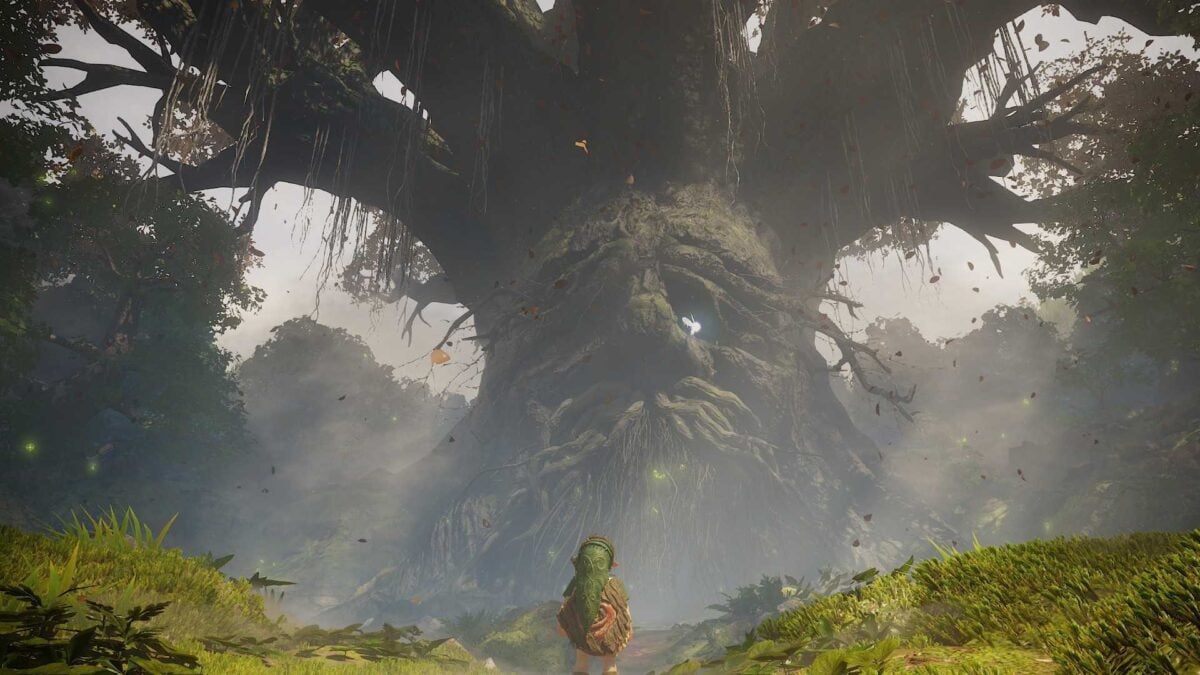
- Talk to Mido, who is blocking the tunnel on the east side of the area, and continue east to reach the Great Deku Tree.
Great Deku Tree
- Complete the Great Deku Tree dungeon. Use our Great Deku Tree Walkthrough to find the dungeon’s map and compass, the Fairy Slingshot, and Gold Skulltulas #1, 2, 3 & 4.
Hyrule Castle Town & Hyrule Castle
- Leave Kokiri Forest through the west exit to trigger a cutscene and earn the Fairy Ocarina.
- Cross Hyrule Field and enter Hyrule Castle Town in the north.
- Enter the first house on the right and break the moving crate to find Gold Skulltula #5.
- Talk to the Potion Shopkeeper to get an Empty Bottle.
- Get a perfect score in the Shooting Gallery to get a Bigger Deku-Seed Bag.
- Go through the north exit to reach Hyrule Castle.
- Get the Weird Egg from Malon, wait for it to hatch, and use the Wake-Up Cucco to wake up Talon. Pass through the guard section to reach Zelda, learn Zelda’s Lullaby, and claim Zelda’s Letter. Check our Princess of Hyrule Castle Walkthrough if you need help with this section.
Kakariko Village & Graveyard
- Go to the path in the northeast corner of Hyrule Field to travel to Kakariko Village.
- Use our Kakariko Village & Graveyard 100% Walkthrough to find Heart Pieces #1, 2 & 3, Gold Skulltulas #6, 7, 8, 9, 10 & 11, and more in this area. That walkthrough also explains how to get a free Hylian Shield, which will be helpful on Death Mountain.
- Show Zelda’s Letter to the guard at the gate on the north side of the village to gain access to Death Mountain Trail.
Goron City
- Follow Death Mountain Trail up to Goron City, making note of the blocked entrance to Dodongo Cavern you pass along the way.
- Go to the bottom level of the city, stand in front of the door with the Triforce rug in front, and play Zelda’s Lullaby to open the door.
- Talk to Darunia.
- Use the torch in Darunia’s room to light a Deku Stick. Use the lit stick to light all the torches on the bottom level.
- Light a Deku Stick, and take it one floor up and to the corridor with the cracked wall on the east side of the map. Light the bomb flowers flanking the cracked wall to destroy it and gain access to the Lost Woods.
Lost Woods & Sacred Grove
- Follow the sound of the ocarina to reach the Sacred Grove. Head to the end of the path to find Saria and learn Saria’s Song. Use our Lost Woods Walkthrough if you need additional help. That walkthrough also explains how to find a Deku-Stick Bag upgrade, a Deku-Seed Bag upgrade, Gold Skulltulas #12 & 13, and Heart Pieces #4 & 5 in those areas
- Backtrack to Goron City.
Goron City
- Play Saria’s Song for Darunia to get the Goron Bracelet.
- Leave Goron City, and throw the Bomb Flower near the Goron off the ledge so that it lands in front of the blocked entrance to Dodongo Cavern. The explosion will clear the blockage.
- Put a bug into the soil mound in front of the cavern’s entrance to reveal Gold Skulltulas #14.
- Enter Dodongo Cavern.
Dodongo Cavern
- Complete the Dodongo Cavern dungeon. Use our Dodongo Cavern Walkthrough to find the dungeon’s map and compass, the Bomb Bag, and Gold Skulltulas #15, 16, 17 & 18.
Goron City
- Follow Death Mountain Trail back down towards Kakariko Village. There is a cracked wall you can destroy with a Bomb on the left side of the path, and Gold Skulltula #19 is behind it.
- Return to Goron City.
- Use Bombs to get to the back of the rock-filled alcove on the west side of the top level. You’ll find Gold Skulltula #19 there.
- Use a Bomb to stop the rolling Goron on the second level next to the sign to receive a Bomb Bag upgrade.
- Throw a Bomb into the spinning pot on the bottom level to earn Heart Piece #6. As a reminder, you make that pot spin by lighting all the torches on the bottom level.
- Leave Goron City.
Death Mountain
- Climb Death Mountain, using Bombs to destroy the cracked rocks blocking your path.
- When you encounter Kaepora Gaebora, use a Bomb to destroy the cracked wall to the left.
- Play Zelda’s Lullaby at the fountain inside to awaken the Death Mountain Great Fairy. Pay 25 Rupees to earn Din’s Fire.
- Speak with Kaepora Gaebora to return to Kakariko Village.
- When you land, jump off the south side of the roof to land on the top of a stable. Heart Piece #7 is there.
Hyrule Castle Town & Hyrule Castle
- Return to Hyrule Castle Town.
- Complete all the Bombchu Bowling round to unlock Bombchus, a Bomb Bag upgrade, and Heart Piece #8.
- At night, bring Richard back to the upset woman near the entrance to the town to get Heart Piece #9. Richard is a white dog, and he will do a little spin when you play with him.
- Go to Hyrule Castle, climb the vines behind where you found Malon, and climb down the ladder.
- Use a Bomb to destroy the cracked wall to the east, play Zelda’s Lullaby in front of the fountain to awaken the Hyrule Castle Great Fairy, and offer 50 Rupees to enhance your Spin Attack.
Lon Lon Ranch
- Go to Lon Lon Ranch in the middle of Hyrule Field.
- Complete the Cucco Findin’ game in the house on the left to get Lon Lon Milk (inside an Empty Bottle).
- Roll into the skinny tree behind the building with the Cucco Findin’ game. Gold Skultulla #20 will fall to the ground.
- Talk to Malon amidst the horses to learn Epona’s Song.
- Go to the stone building in the southwest corner. Move the crates so you can access a hole you can crawl through, which leads to Heart Piece #10.
Kokiri Forest
- Head back to Kokiri Forest via the path in the southeast corner of Hyrule Field.
- Use the Sun’s Song to make it night, if necessary, and look behind the southwest house to find Gold Skulltula #21.
- Leave the forest and follow the path on the east side of Hyrule Field to travel to Zora River.
Zora River
- Visit the Bean Seller near the beginning of the path and buy as many Magic Beans as you can afford. You’ll need to come back and buy more beans later if you aren’t able to buy everything the NPC has to offer now.
- Release a bug into the soil mound near the Bean Seller to make Gold Skulltula #22 appear. Then put a Magic Bean into the mound.
- Grab the cucco from behind the fence the Bean Seller is in front of. Take it up the river, past the frogs, and throw it across the gap when you are forced to cross the shallow water. Head to the other side, grab the cucco, and use it to glide to climbable vines at the south edge of the map.
- Climb the vines and go to the south edge of the landmass to find a hole. Enter the hole, grab the cucco, and exit the hole. Use the cucco to glide to Heart Piece #11 on the tall platform in the middle of the river.
- Take the cucco to the waterfall at the east end of the river. Turn around and look down and to your right to find Heart Piece #12 on a ledge. Glide to it.
- Go down to the bottom of the area to find a rock covered with climbable vines. At night, Gold Skulltula #23 appears on the backside of that rock.
- Play Zelda’s Lullaby at the waterfall to continue to the next area.
Zora’s Domain
- There are eight unlit torches in Zora’s Domain. Use Din’s Fire to light one, then use a Deku Stick to transfer the flame to the remaining torches. A chest will spawn in an alcove at the bottom of the area when the final torch is lit, and it holds Heart Piece #13.
- Go to the top level and follow the water left before you reach King Zora to find a Zora that will give you a diving lesson. Complete it to earn the Silver Scale.
- Talk to King Zora at the top of the area to learn about Ruto, who is missing.
- Dive into the pool at the bottom of the area, and swim through the opening to the west.
Lake Hylia
- As soon you emerge, you will be almost directly above a Bottle with a letter. Dive to collect it.
- Enter the building on the east side of the lake and talk to the man inside to get a Fishing Rod. Fish until you catch a 50+ cm fish, and show it to the man to get Heart Piece #14.
- Head to the Lakeside Laboratory in the northwest corner. There is a soil mound just right of the lab’s door. Release a bug into the mound to reveal Gold Skulltula #24, and then insert a Magic Bean.
- Talk to the Scarecrow east of the lab and play a song that you can easily remember. A Scarecrow Song with just two alternating inputs is a great option.
Zora’s Domain
- Return to King Zora in Zora’s Domain, and show him the Bottle with the letter to make him move.
- Use an Empty Bottle to catch a fish in the shallows of the pool at the bottom of the area.
- Follow the path past King Zora.
Zora Fountain
- Go to the southeast corner and roll into the illuminated tree. Gold Skulltula #25 will fall.
- Use a Bomb to destroy the cracked wall behind the tree. Play Zelda’s Lullaby at the fountain to awaken a Great Fairy, and offer 100 Rupees to learn Farore’s Wind.
- Drop the fish you have in the Bottle into the small pool directly in front of Jabu-Jabu to enter Lord Jabu-Jabu’s Belly.
Lord Jabu-Jabu’s Belly
- Complete the Lord Jabu-Jabu’s Belly dungeon. Use our Lord Jabu-Jabu’s Belly Walkthrough to find the dungeon’s map and compass, the Boomerang, and Gold Skulltulas #26, 27, 28 & 29.
Additional steps will be added as we make further progress.


- Released
-
November 5, 2026
- ESRB
-
Everyone 10+ / Animated Blood, Fantasy Violence
- Developer(s)
-
Nintendo
- Publisher(s)
-
Nintendo